The new look and feel of the default workbooks in SLIM Suite are based around infographic and dashboard design principles. Information Dashboard Design by Stephen Few served as an excellent resource for updating the views and color schemes in SLIM Suite 8.2. Our goal in updating the look and feel of SLIM-Suite 8.2 was to highlight the pertinent inputs and outputs in bright, bold colors and to allow other view elements like gridlines or historic data to fade into the background by using more muted colors, allowing you to focus on the important metrics when making key management decisions.
New views in SLIM-Estimate
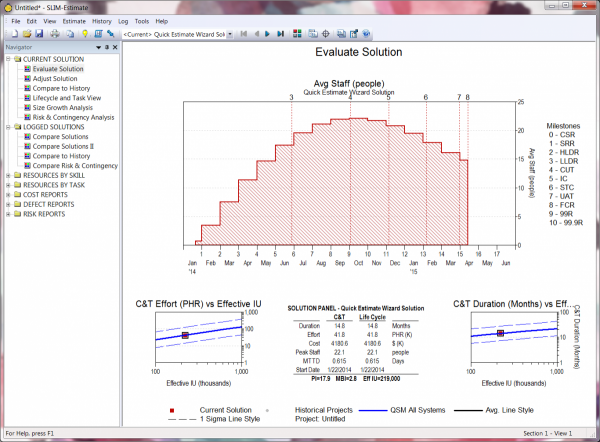
As you step through the default workbook in SLIM-Estimate, you'll notice that the default folders and view names have changed. Views have been reorganized into folders with descriptive, functional names to make it easier to find the right views, charts, and reports and give users a more effective dashboard for evaluating solutions, adjusting them and reviewing logged solutions.
SLIM Suite 8.2 comes with four themes to choose from, plus two placeholders for your own custom themes.
White Background (Default)
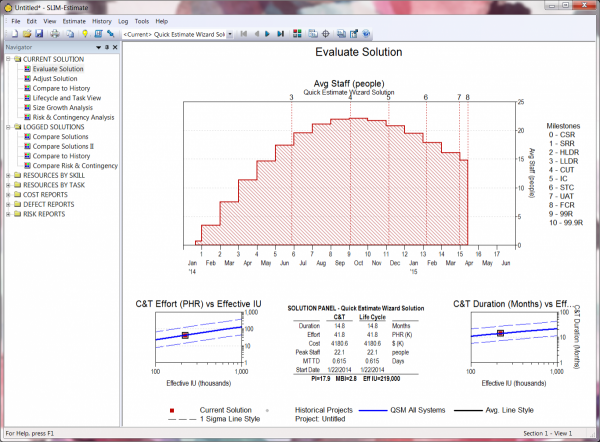
The White Background default palette used in new or upgraded workbooks features a white background and red and blue shading/symbols for the current and logged solutions, respectively.
QSM Theme
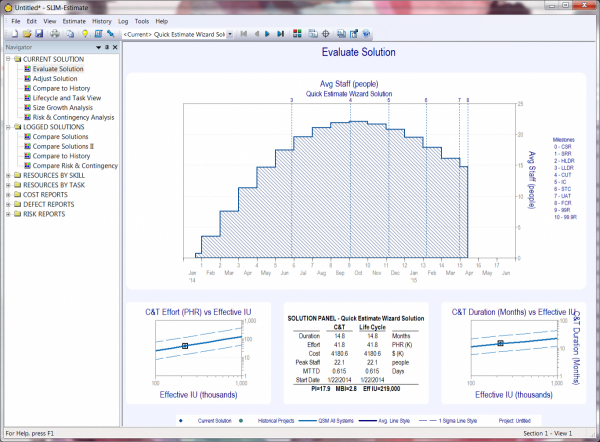
The QSM Theme has a pale blue background with blue and gold shading/symbols for the current and logged solutions, respectively.
QSM White Background
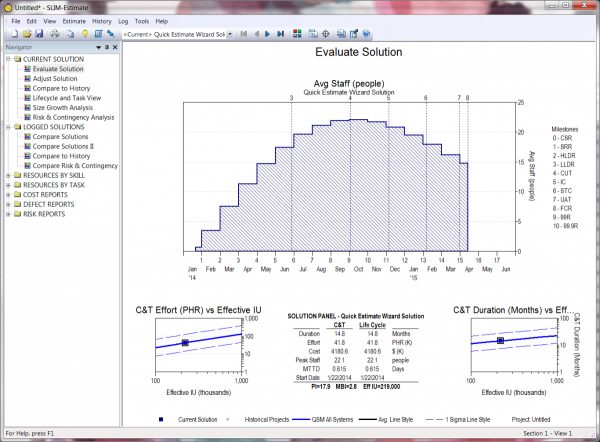
The QSM White Background uses the QSM Theme on a white background and blue/gold shading and symbols.
Black and White
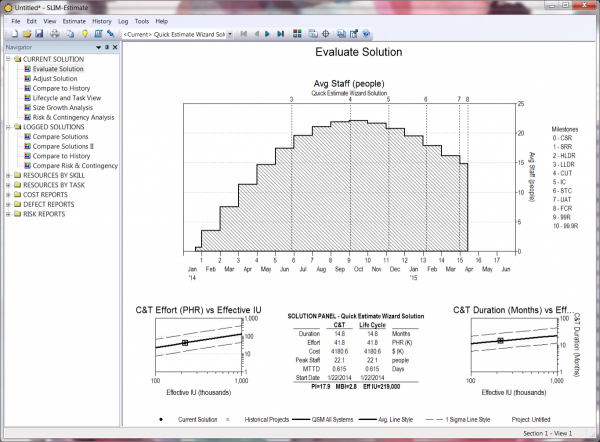
The Black and White theme has a white background with black and gray shading/symbols for the current and logged solutions, respectively. This theme is best used for printing.
Two Custom slots
For new workbooks, the custom palettes are copies of the White Background palette. You can customize them as desired. For upgraded workbooks, the custom palettes contain the original palettes used in the upgraded workbook. To restore the palette and fonts used in the original upgraded workbook, select the first Custom theme and click the Use for Screen or Use for Printer button.
I've talked before about how to customize your workbooks and Taylor has discussed how to customize SLIM charts to make them presentation-ready. In version 8.2, you can easily import your customized themes. When customizing your theme, first make sure that you have selected the Custom 1 or Custom 2 user defined group before you begin making changes. To check which theme you are customizing, go to Tools | Customize Display… | Screen\Printer Fonts, Colors, & Symbols.
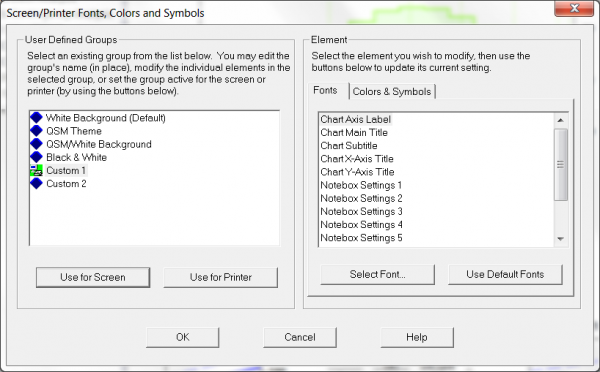
You can rename the user defined group by clicking twice slowly (do not double-click) on the group name. After the second click, the field will be marked by a highlight and a solid outline, enabling you to edit the name in place.
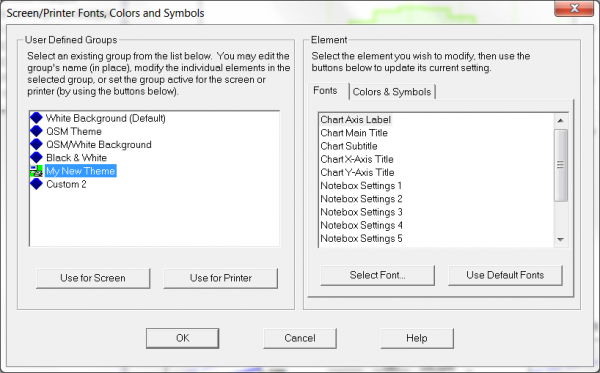
When you have finished your customizations and want to import them, simply open your new workbook, then select File | Import… | Workbook components.
On the Import Workbook Components dialog, in Step 1., click the box next to "Colors, Symbols, and Fonts (Replace only)," in Step 2., click the radio button next to "Import from an existing workbook" and browse to the workbook that contains your desired theme. Click OK and your new theme will pop up in your new workbook.
